Jupyter
Launching Jupyter Session
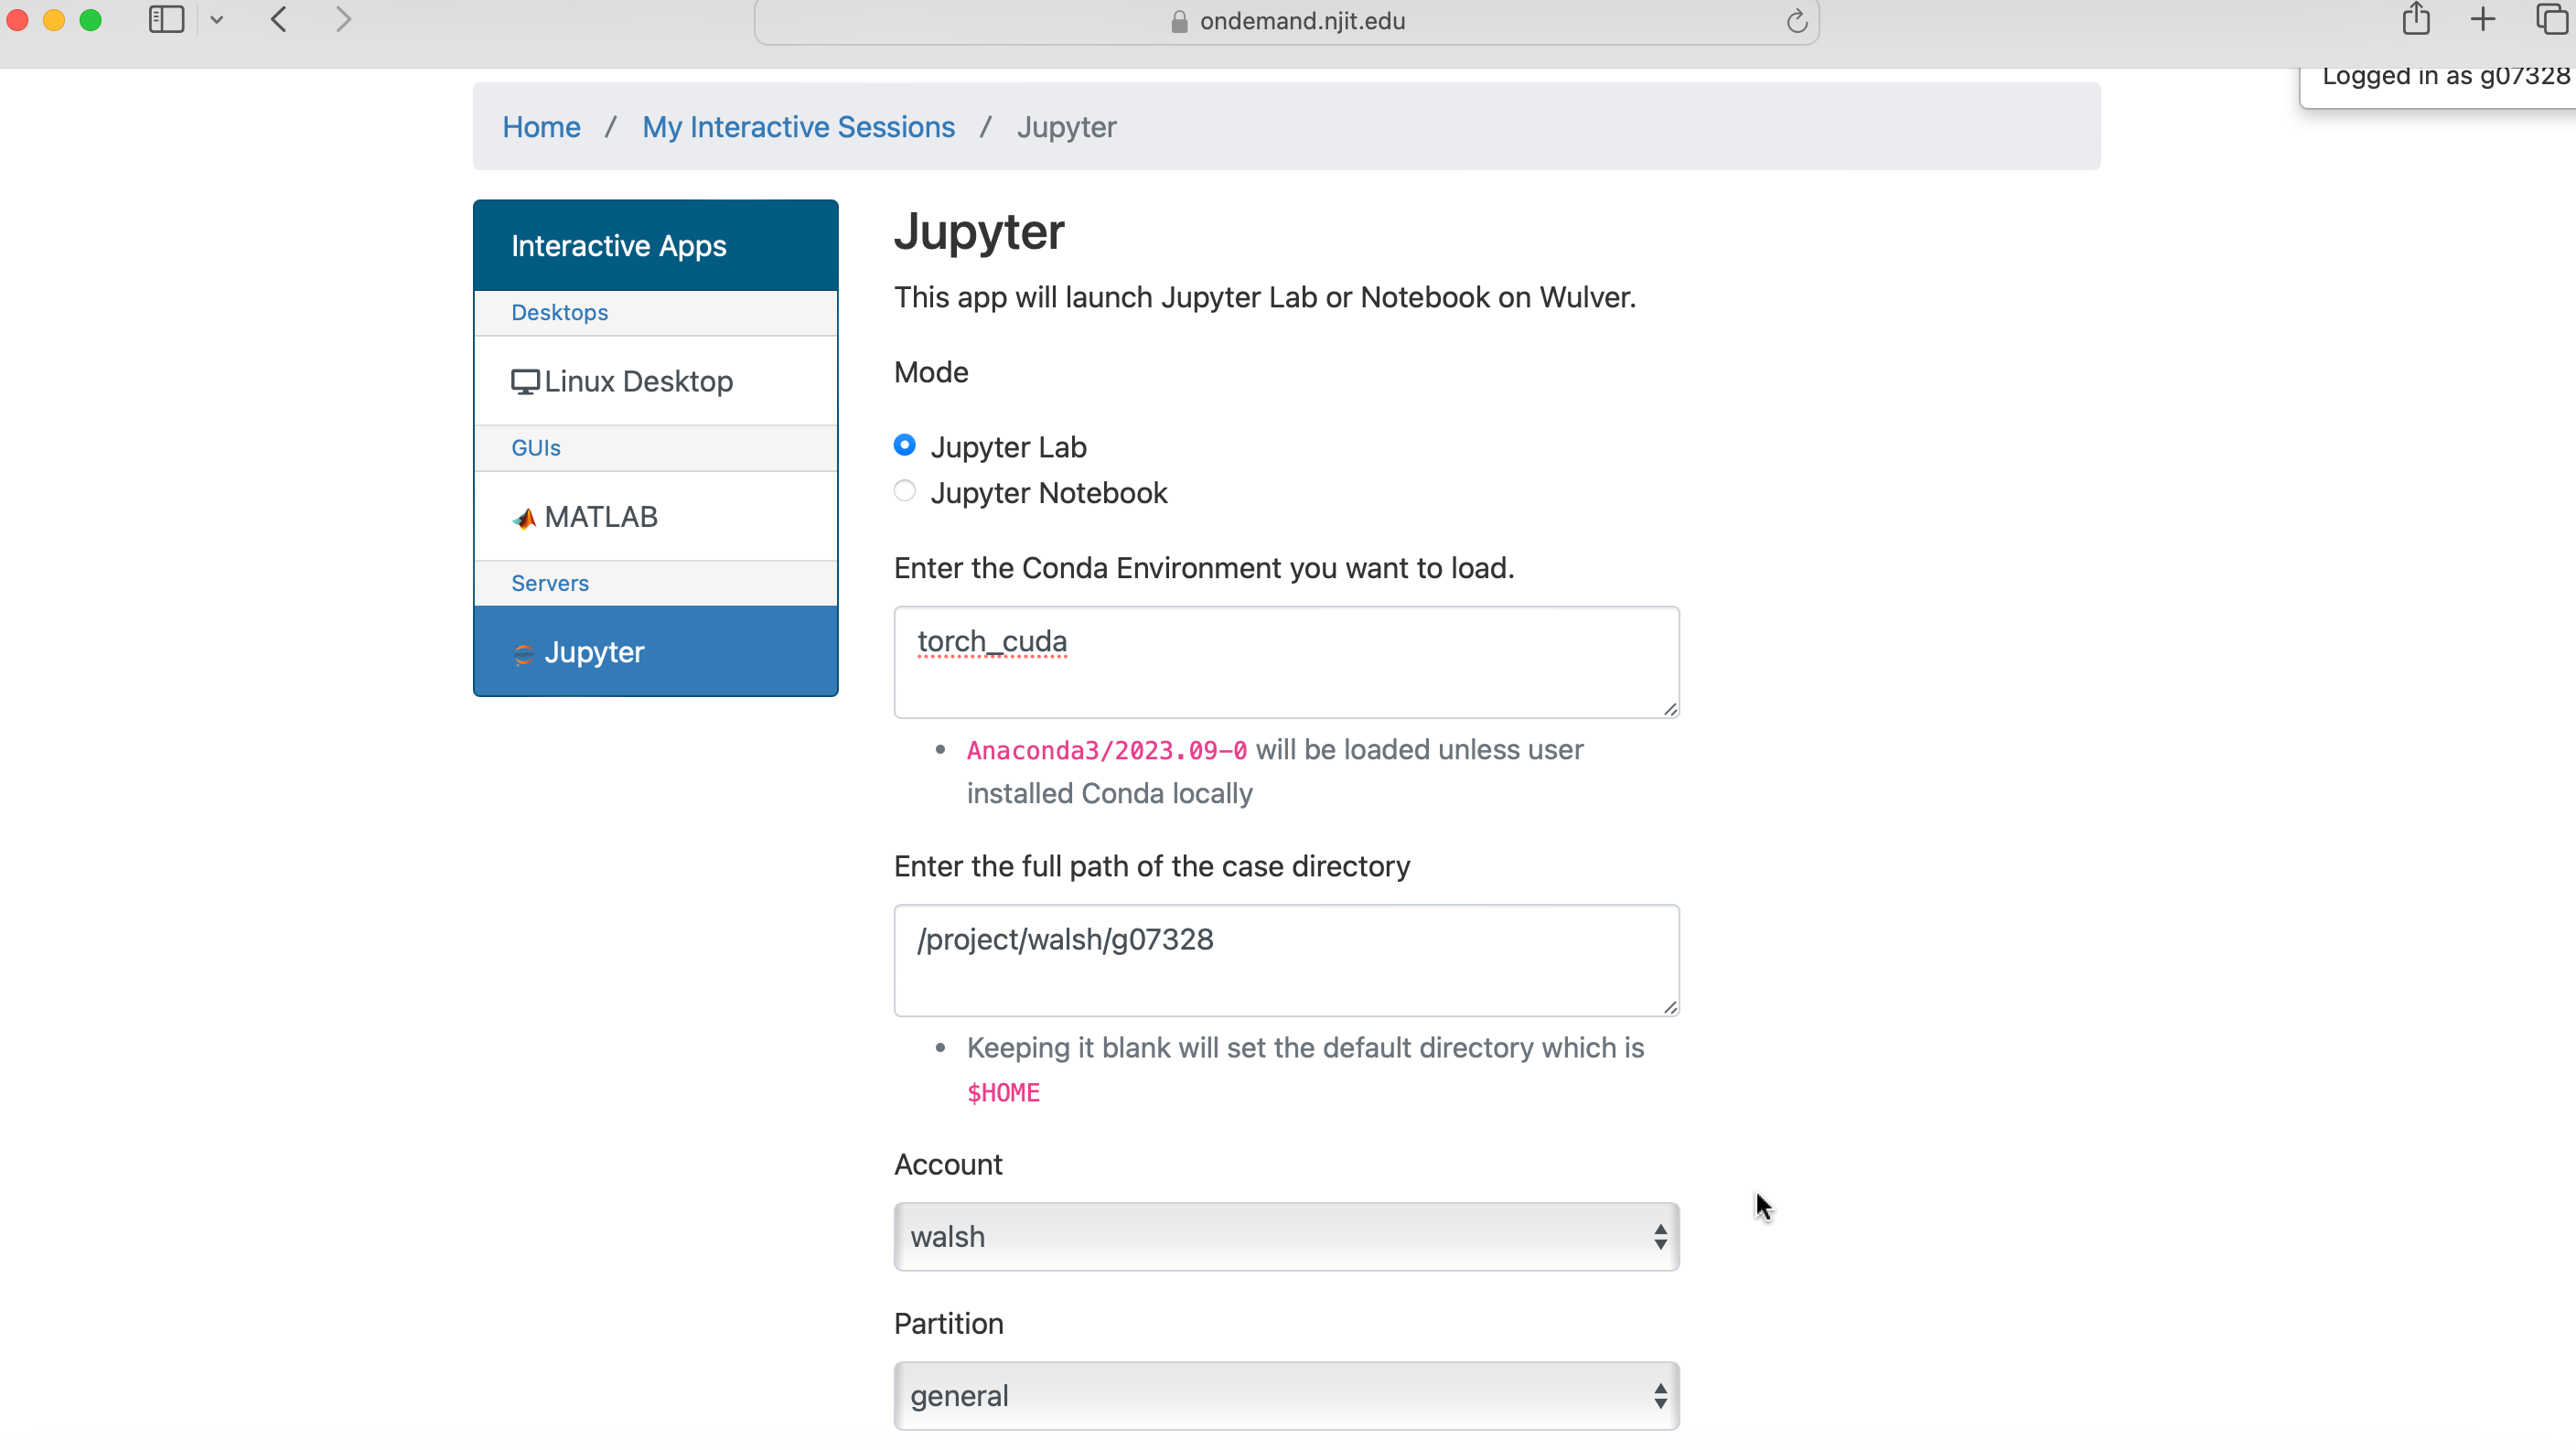
- Navigate to the Interactive Apps section.
- Select
Jupyterfrom the list of available applications.
Loading the Environment
-
Choose the
Modeoption, where you can select the interface:- Jupyterlab
- Jupyter Notebook
-
In the
Conda Environmentsection, mention the environment name where you have installed Jupyter Notebook or Jupyterlab. For example, if the name of the environment istorch_cuda, then just typetorch_cudain the box. If you don't know how to install Jupyter Notebook or Jupyterlab in the Conda environment, check Conda Documentation and Jupyter Installation. -
Choose the path where you want to start the Jupyter session in
Enter the full path of the case directory. For session in$HOMEdirectory keep this blank.
Configuring Resources
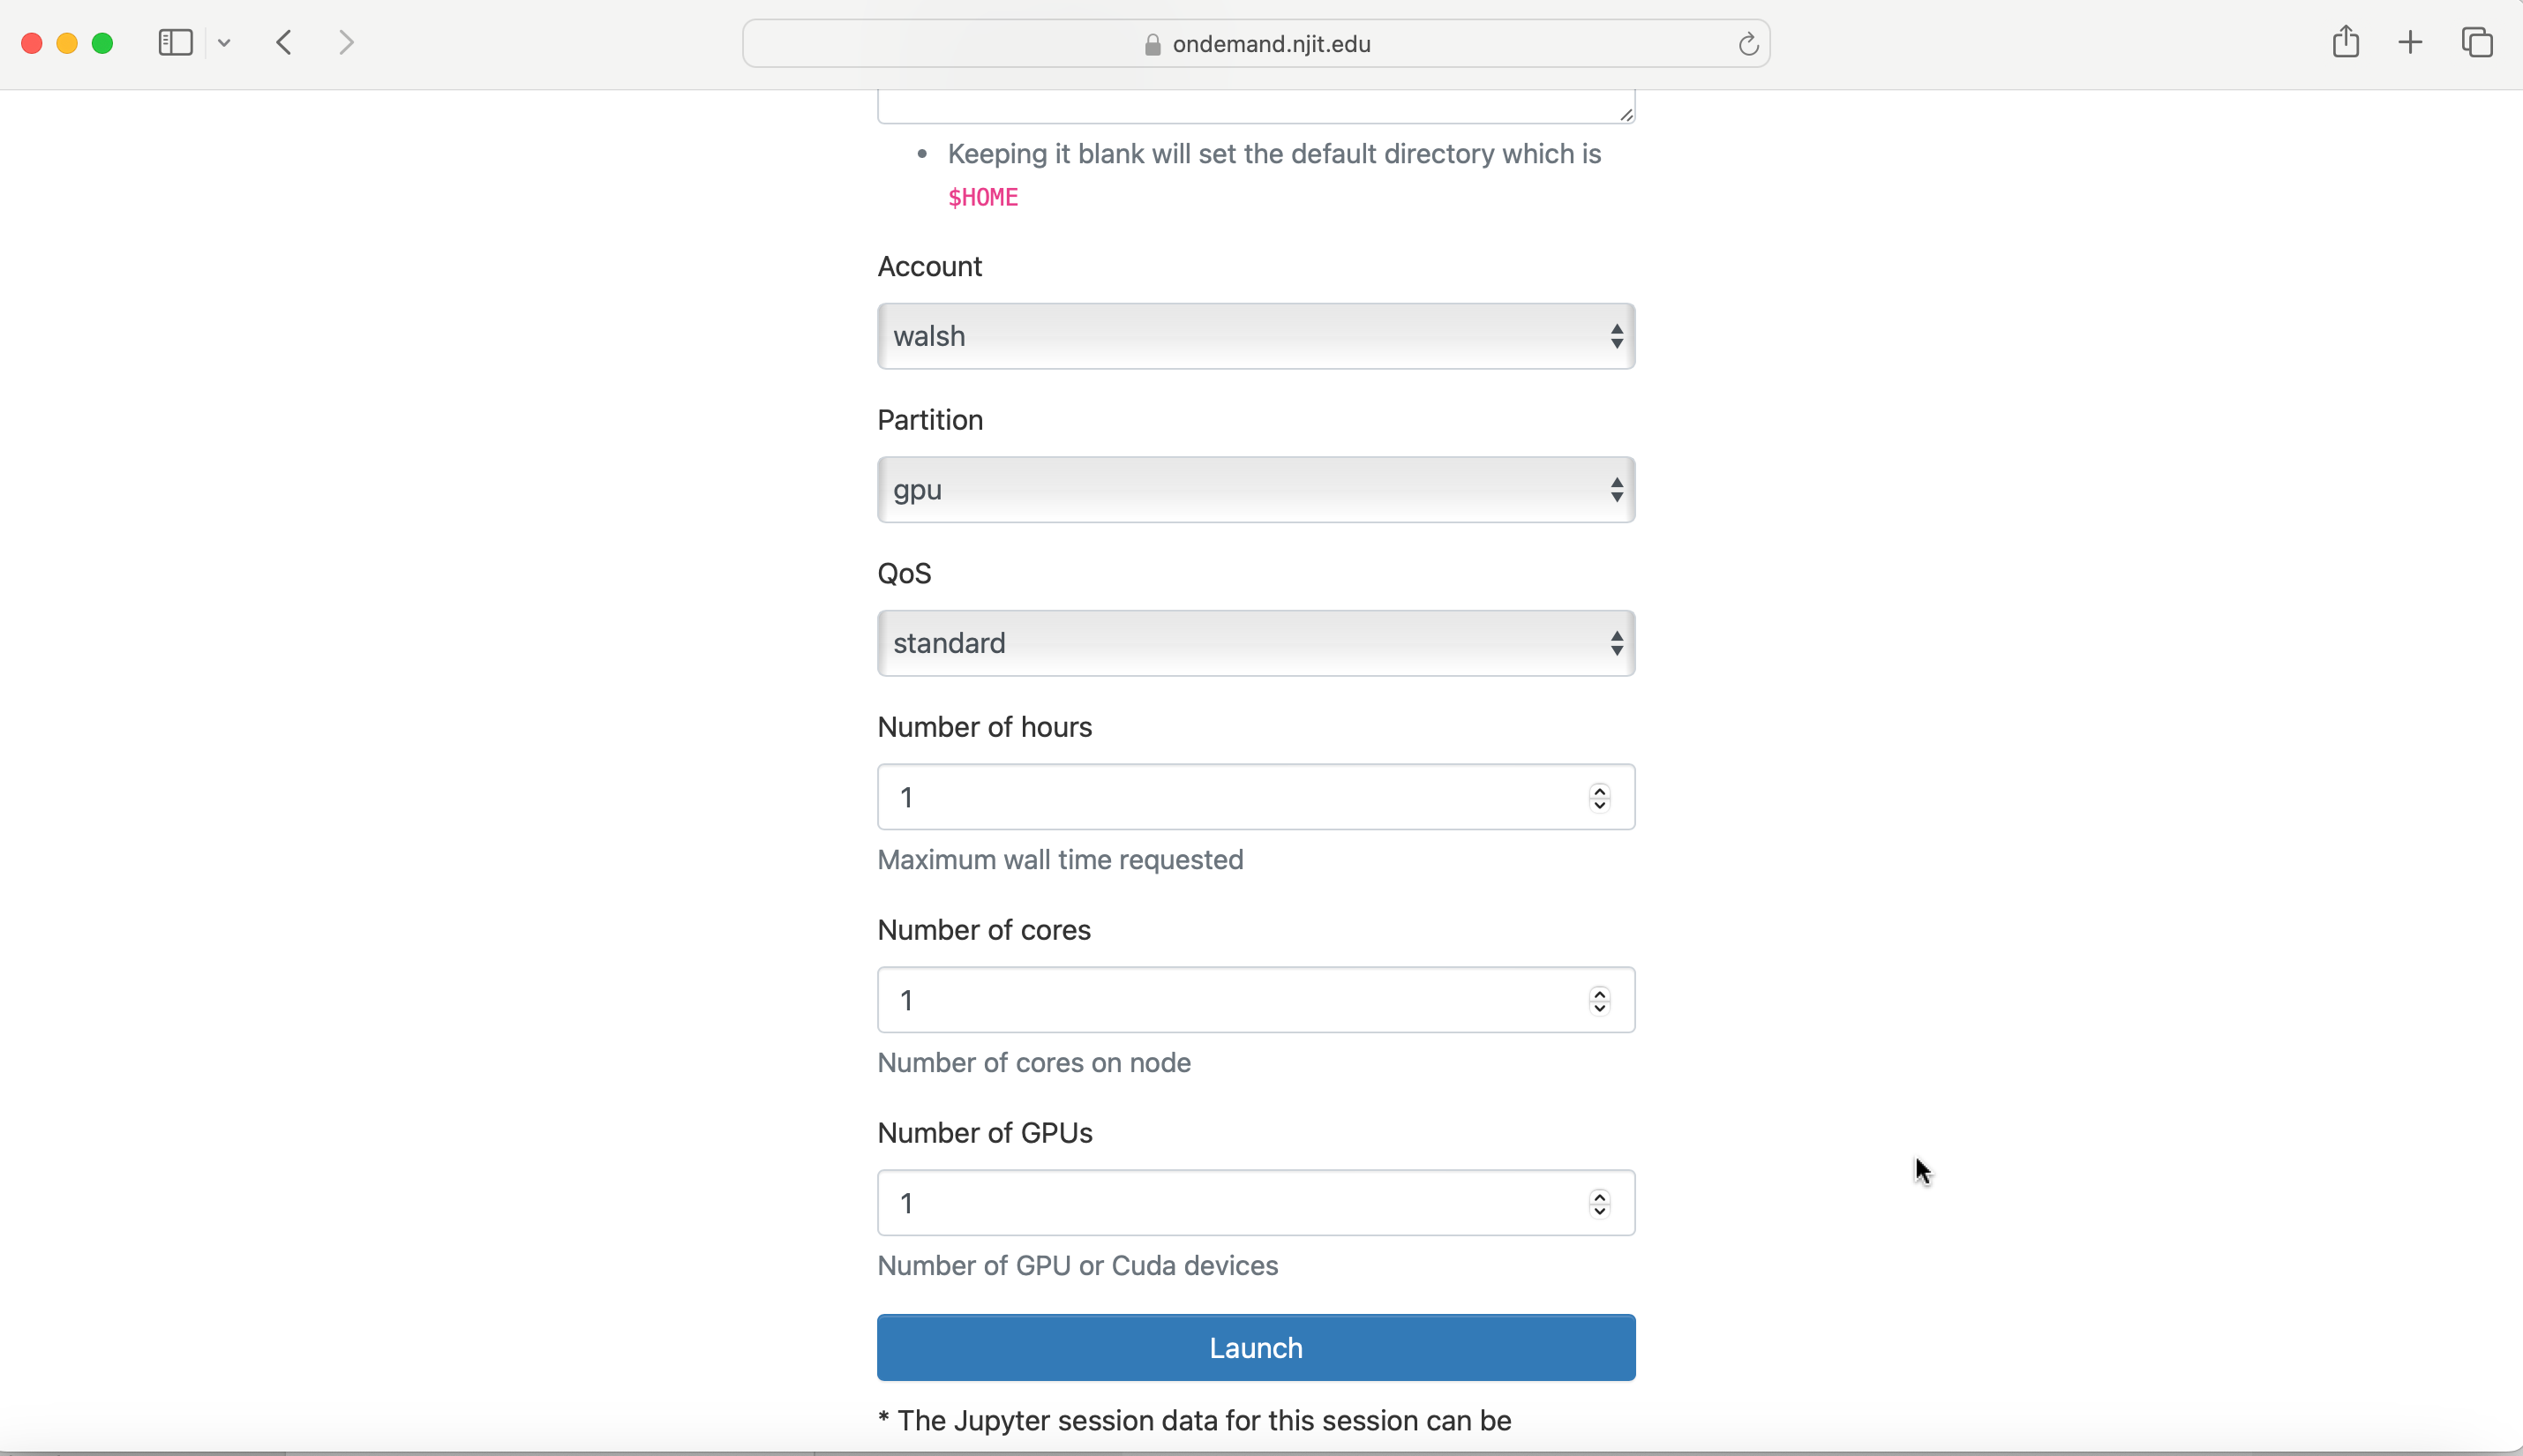
- Specify your Slurm account/partition/qos.
- Set the maximum wall time requested.
- Choose the number of cores you need.
- If required, specify the number of GPUs.
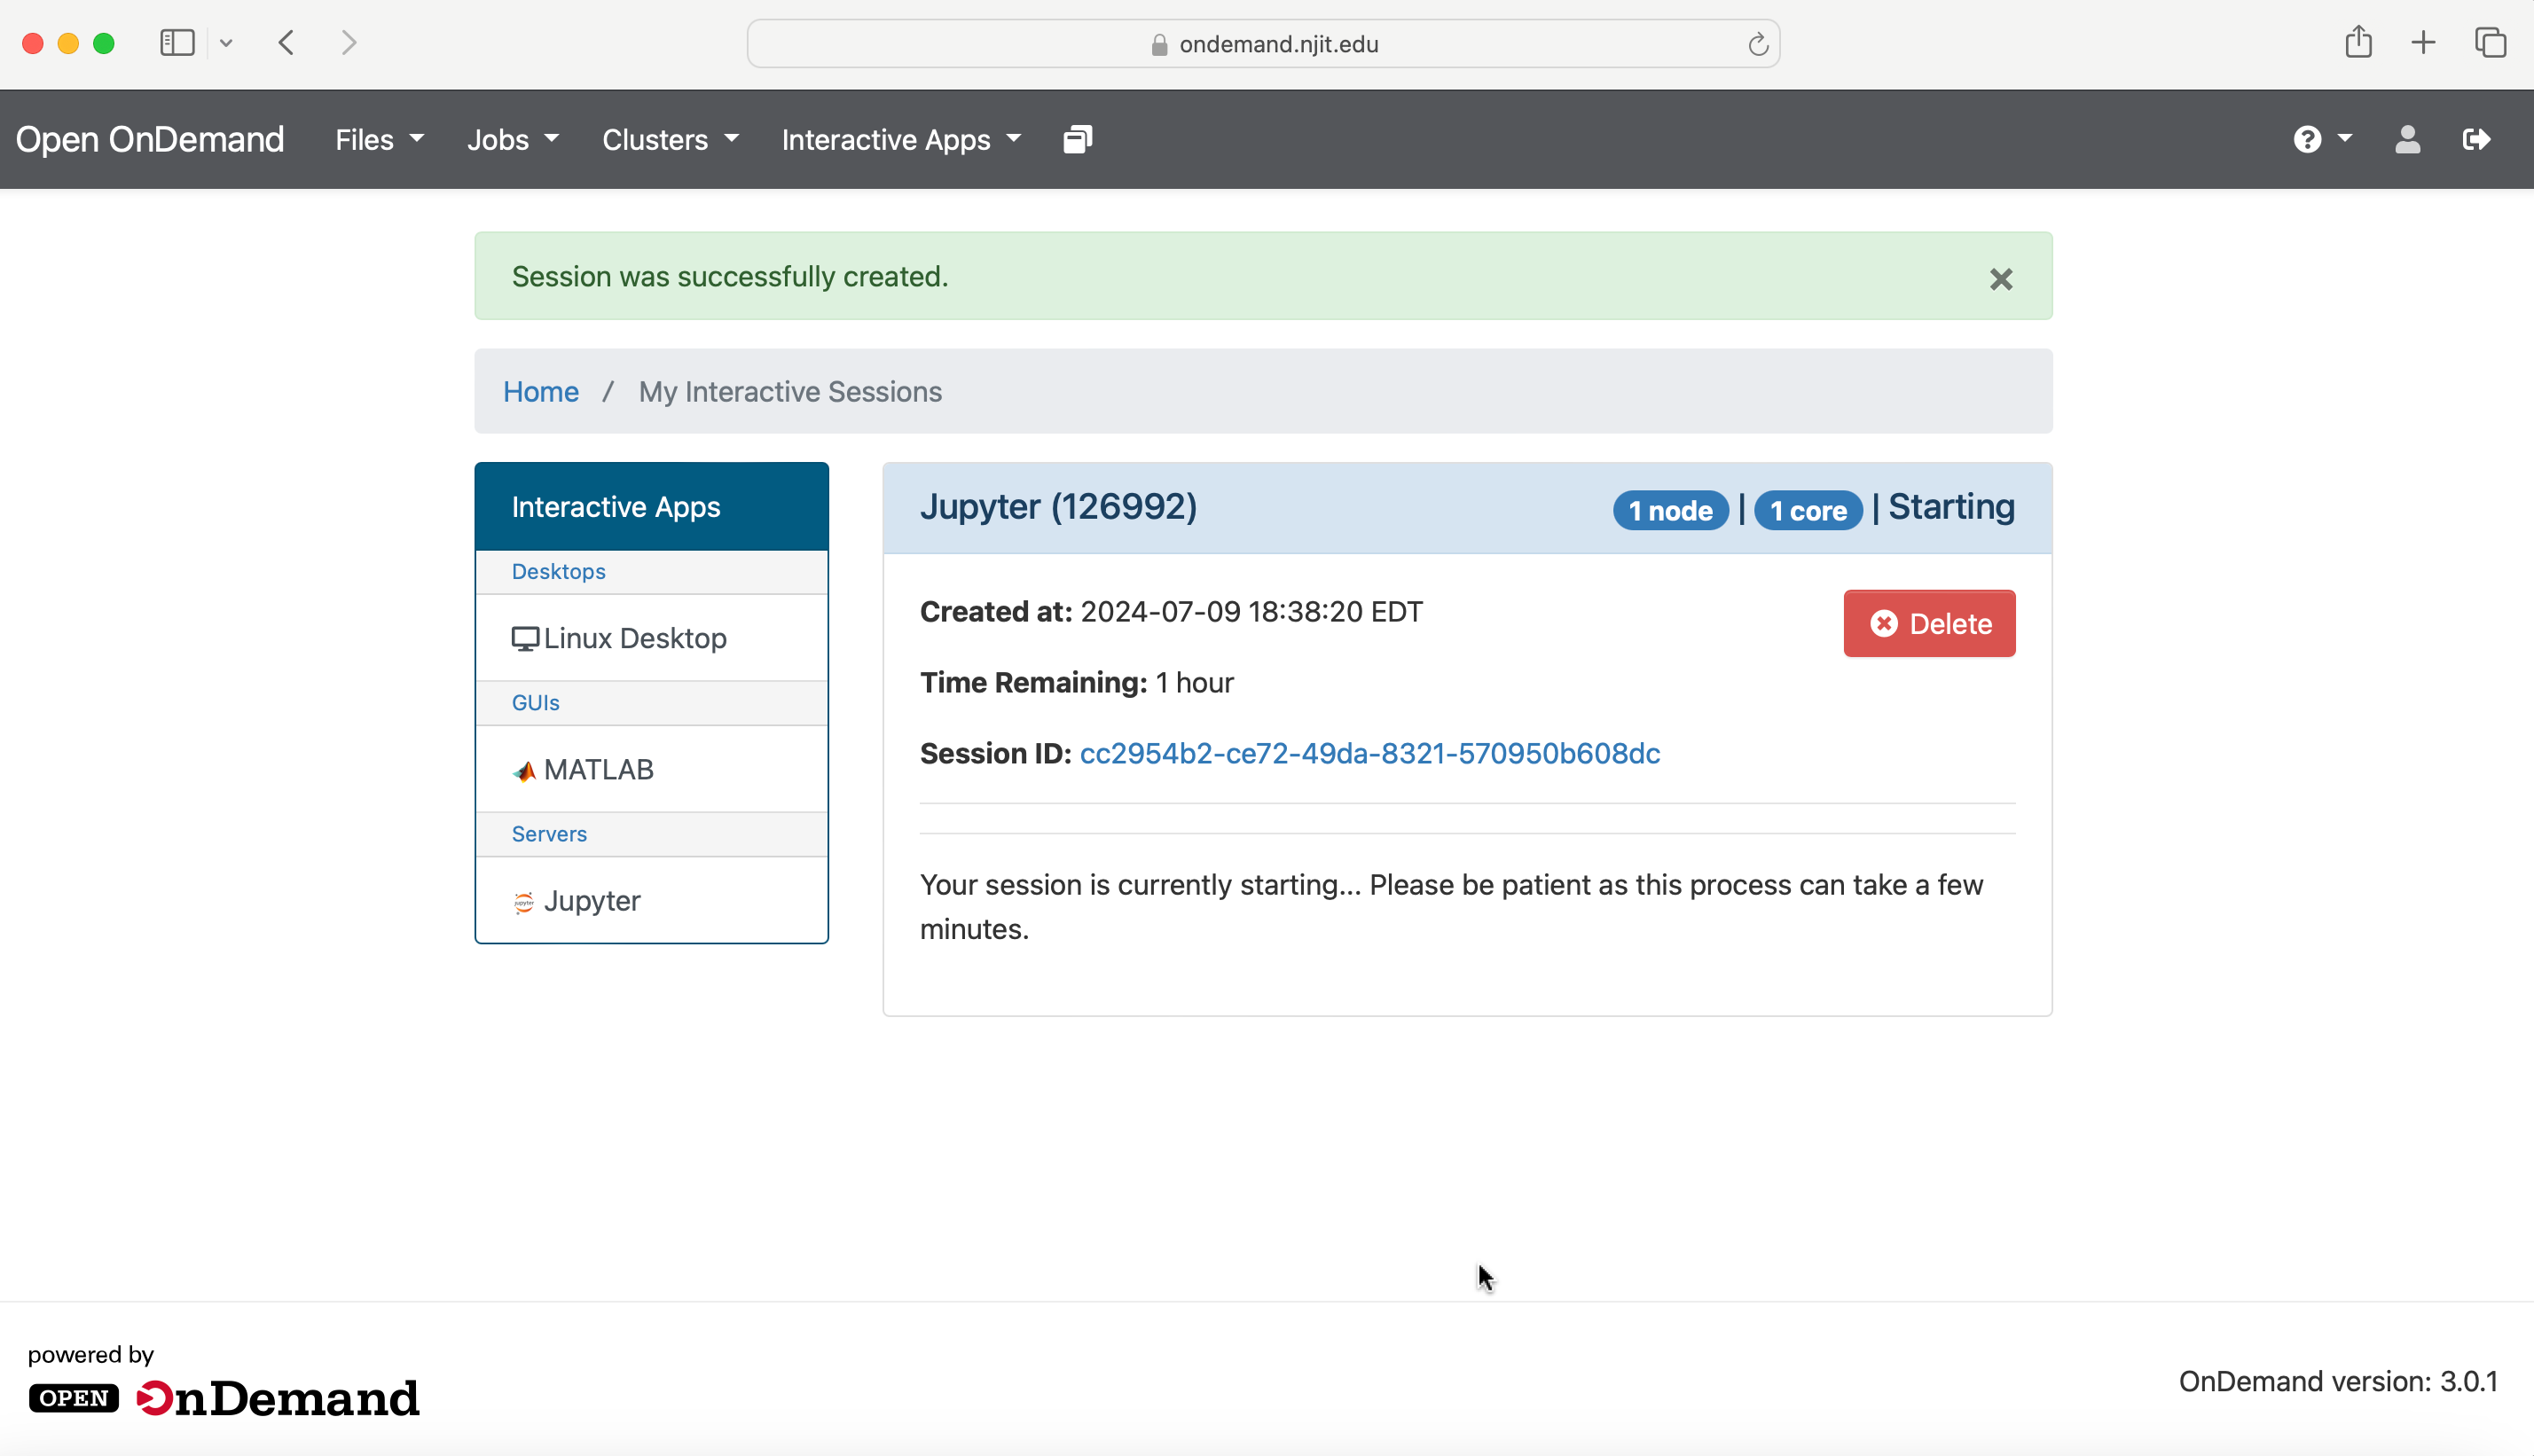
Launching the Session
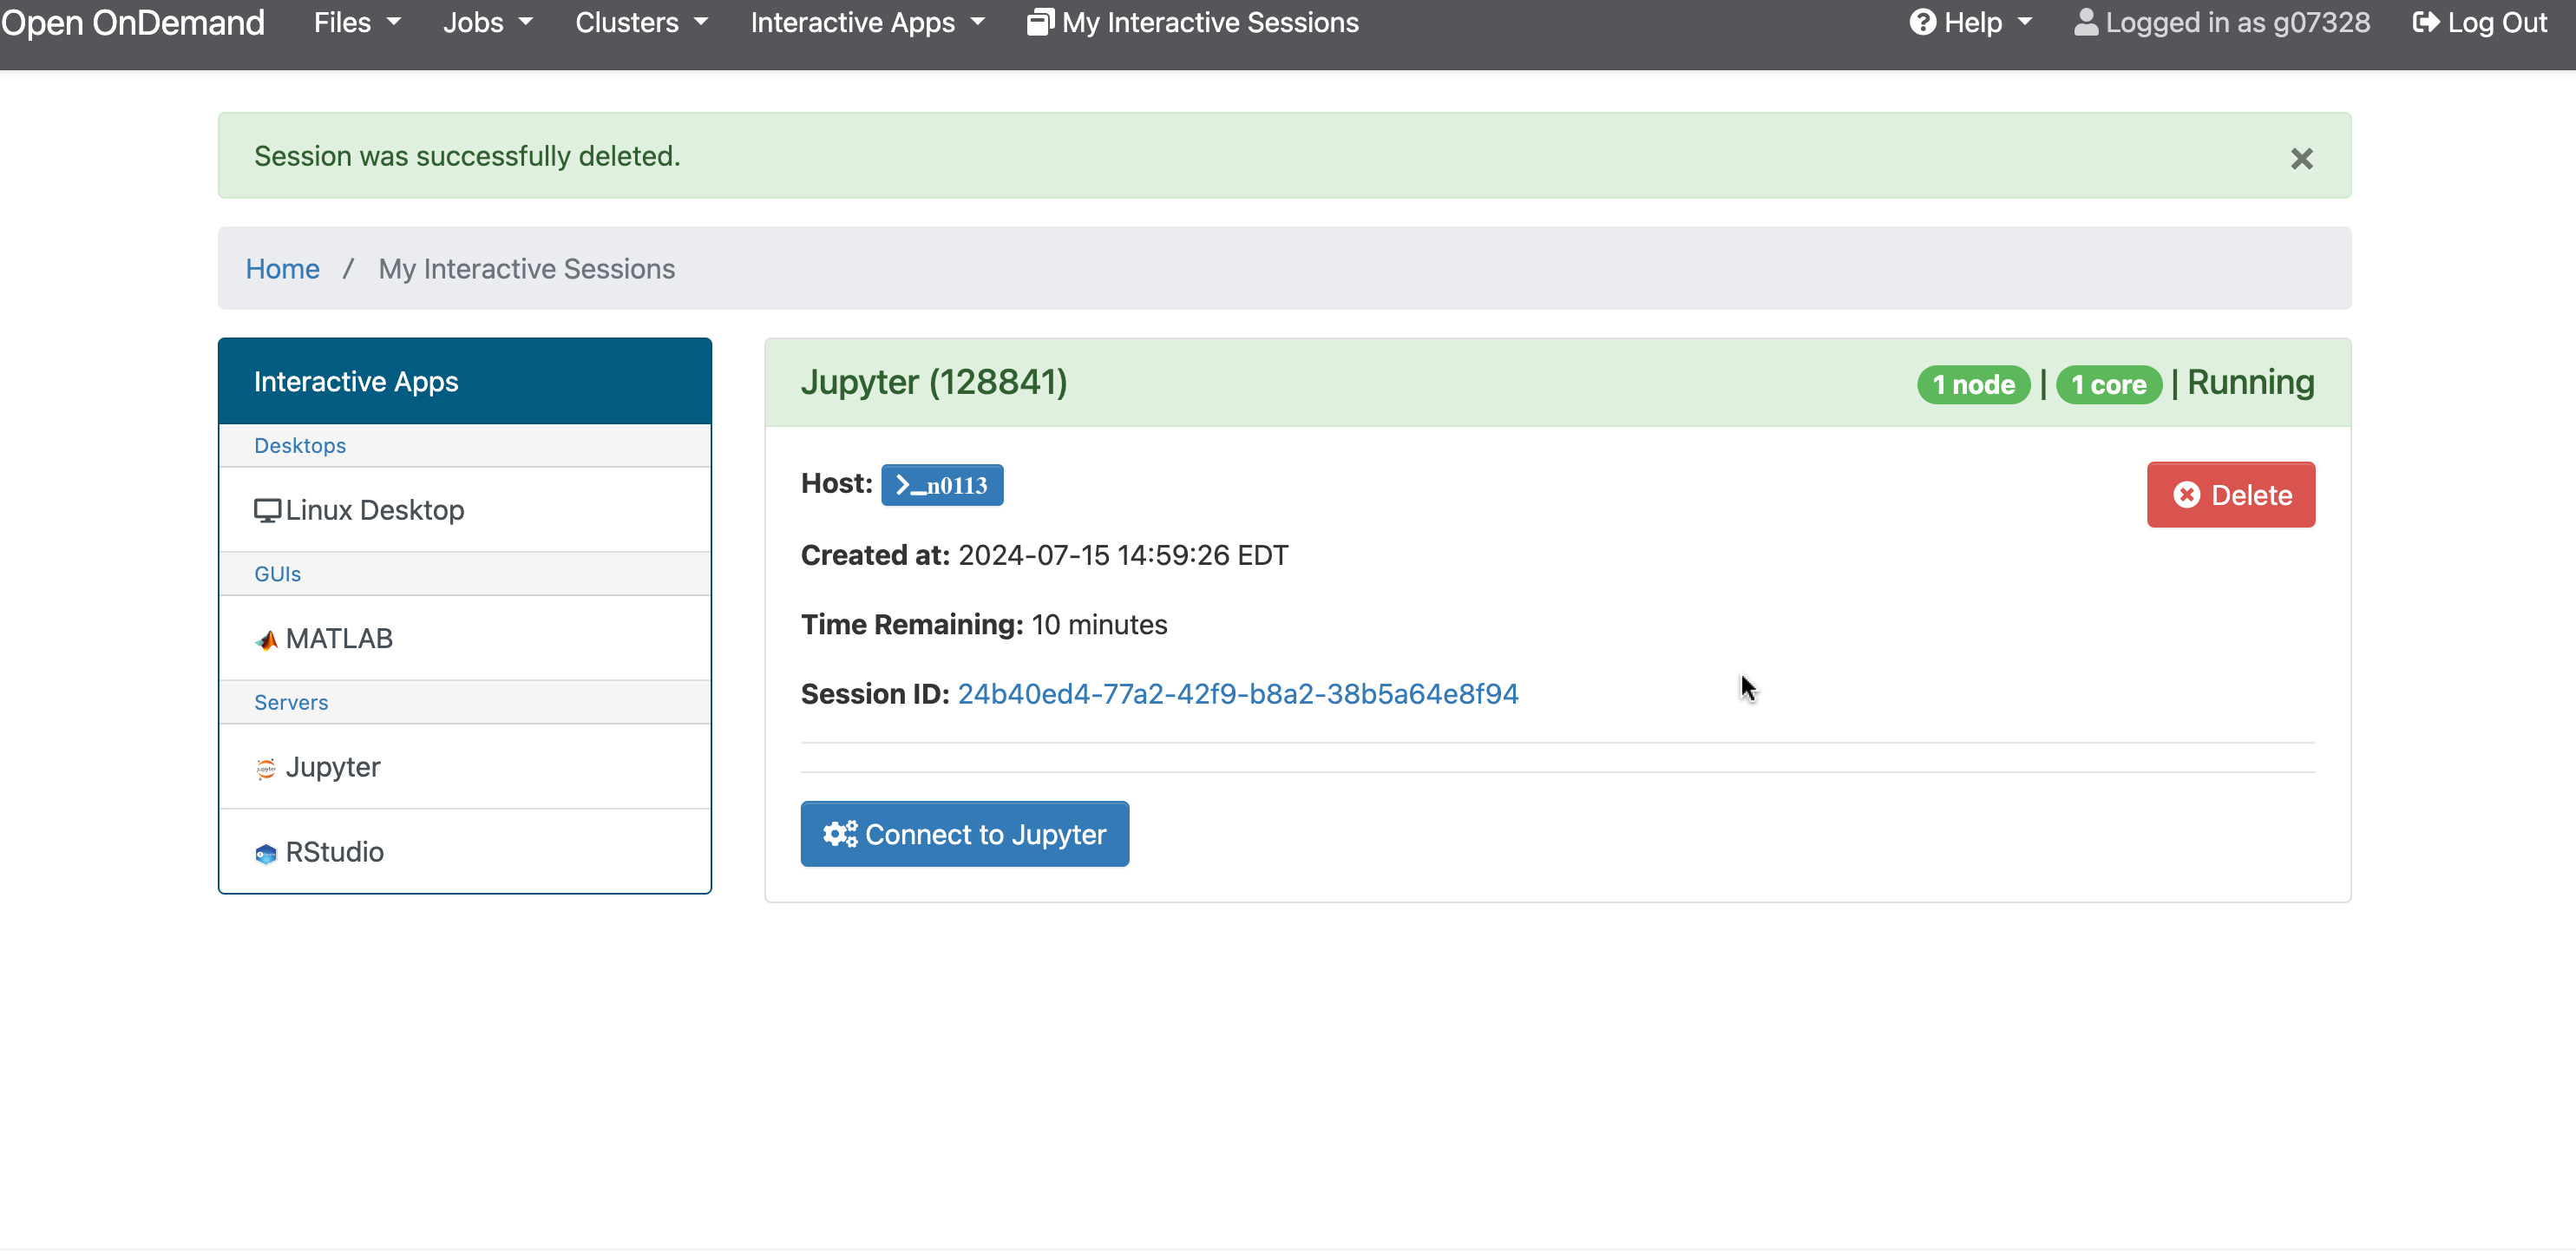
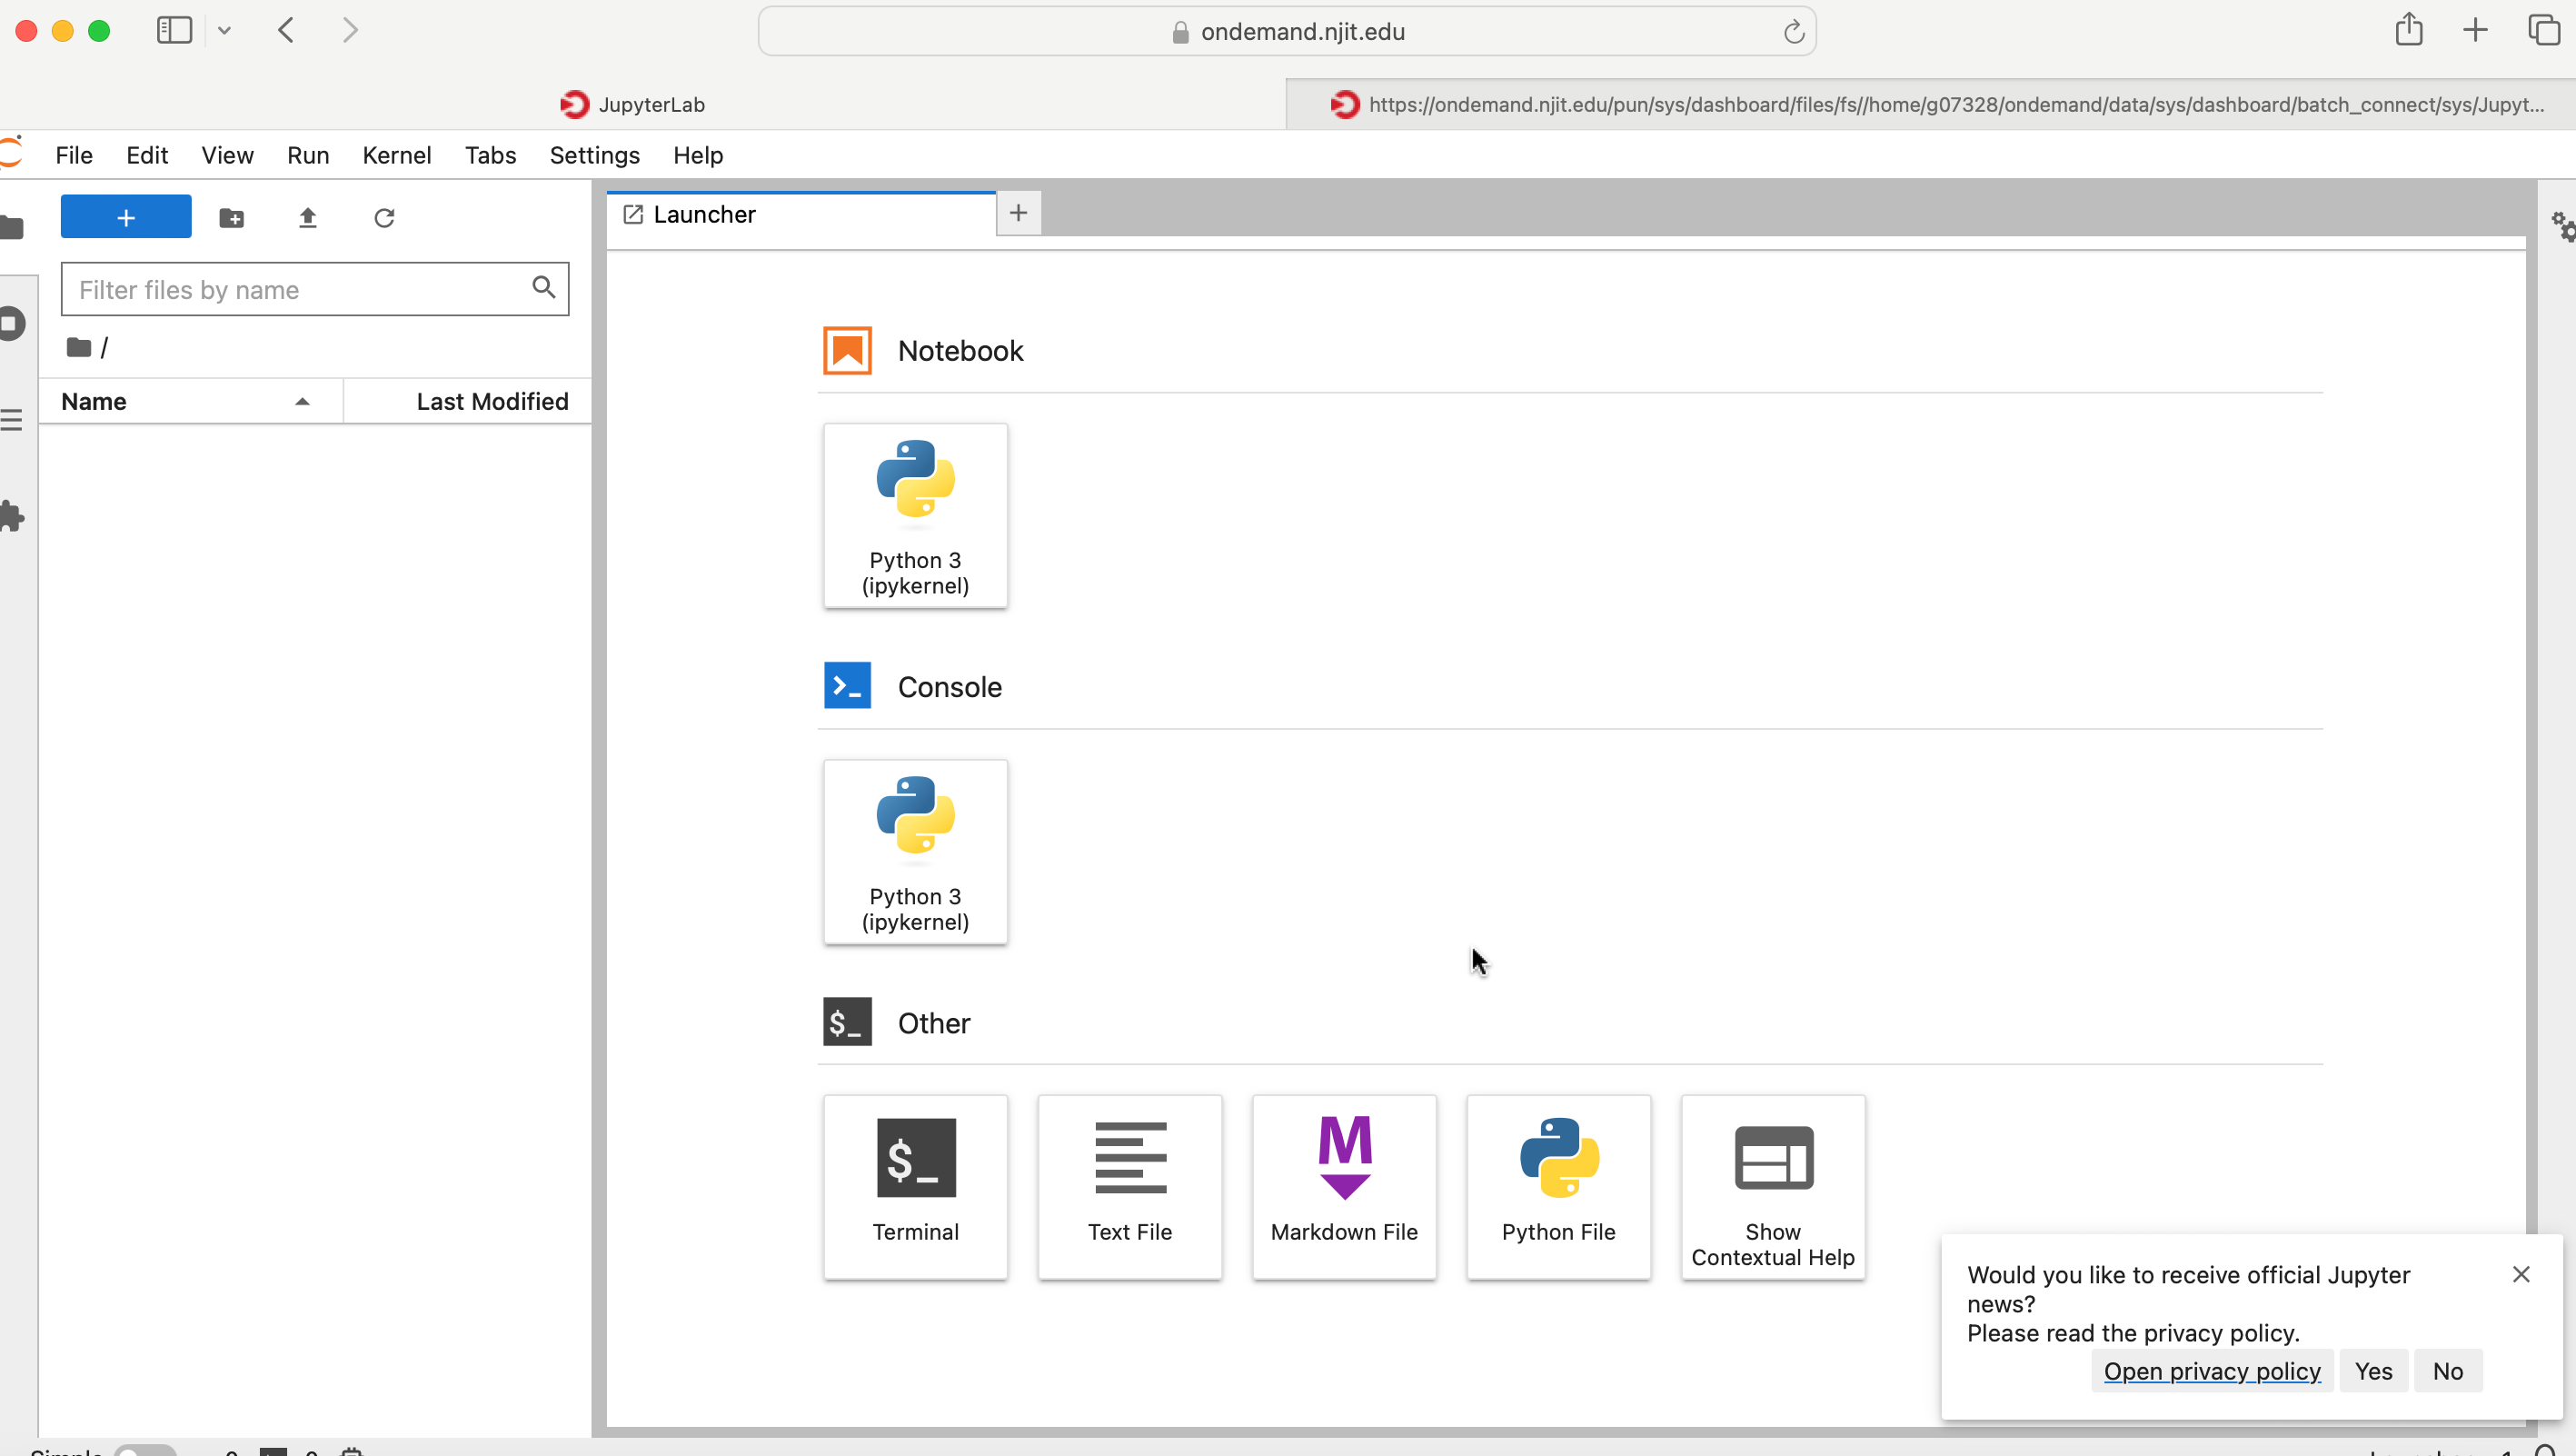
Select the Launch option after finalizing the resources. Once clicking Launch, the request will be queued, and when resources have been allocated, you will be presented with the option to connect to the session by clicking on the blue Connect to Jupyter option.
